Increase the chance of the store on how to succeed among competing brands right from its initial setup. The continuation of tips for the successful involvement of the store on WooCommerce will guide you through the preparation of invoices, orders, and mailing.
Make full use of all the module options
Connecting an online store to WooCommerce involves not only mandatory steps for setting up but also the use of extensions. See what you have to focus on.
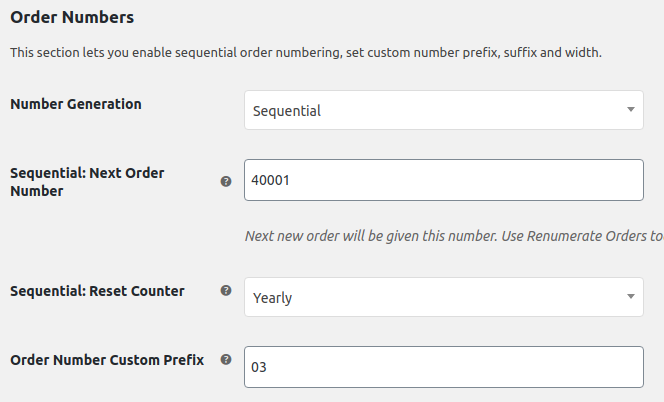
1. Order numbering
The WooCommerce module uses the created ID when numbering the order. If you need a custom system to run the store, deploy plugins on the module. Whether you prefer to use random assignments or a standard series of numbers, their packages allow you to set up any combination. If you do not use any of the plugins, avoid numbering orders according to invoices.
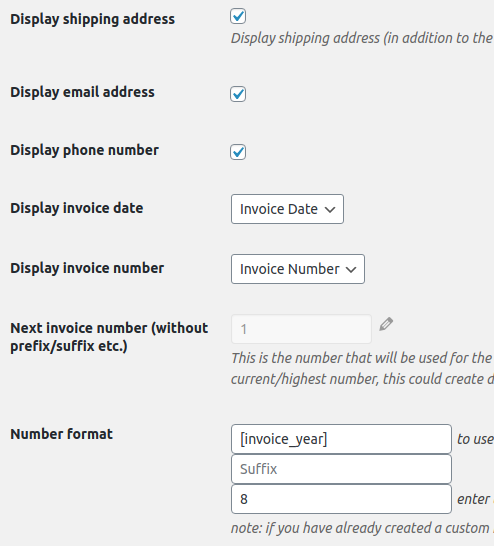
2. Generating invoices
When generating invoices, the shop owner has an option of the internal generation directly in WooCommerce. With this simple plugin, he can create a basic invoice. In this case, he must download orders to an external accounting system once a month. The second option is to connect an external accounting system that will generate invoices for orders directly in WooCommerce.
3. Information e‑mails
The basic WooCommerce package currently provides several mailing variants for each order status. You can control the settings for sending e‑mails on a simple level — by editing the template or disabling their sending. The extension consists of plugins with which you can create personal status or connect an e‑mail with a payment gateway.
4. Fields for ID and VAT data
An important step is to complete the fields for ID and VAT information with which you continue to work during invoicing. WooCommerce does not provide them in the base module. However, there are many free plugins to use.
5. Electronic records of sales
In many European countries, if you run a shop together with an online store, you must use electronic records of the sales system. Same with cash on delivery or customer’s cash payment to the delivery company.
6. Transport
The inevitable step when starting an online store is the right choice of transport method. In the WooCommerce module, you primarily choose between pickup at the branch and delivery by post. Specific plugins help you with a simple implementation of various delivery services. There are also plugins and connectors, which automatically transfer orders directly to the deliverer’s system.
When setting up transport, the shop owner can also use the option of zones and classes. If you shop products past the borders of Europe, or your offer range contains oversized products, you must assign unique transport prices to the individual parts.
7. Payment
The module offers four basic payment options — PayPal, check, bank transfer, and cash upon delivery of the goods. For extensions such as the payment gateway, use the plugin menu. With their help, you will increase the number of payment methods and thus provide customers with more alternatives when purchasing.
Use the tips on setting up an online store before launching it and impress the customer with a flawlessly functioning website. In addition to the module for WooCommerce, Mergado also supports OpenCart and PrestaShop. Simplify advertising on these platforms and discover the benefits of the Mergado Pack, which includes useful features for several advertising systems.
You might be interested:

